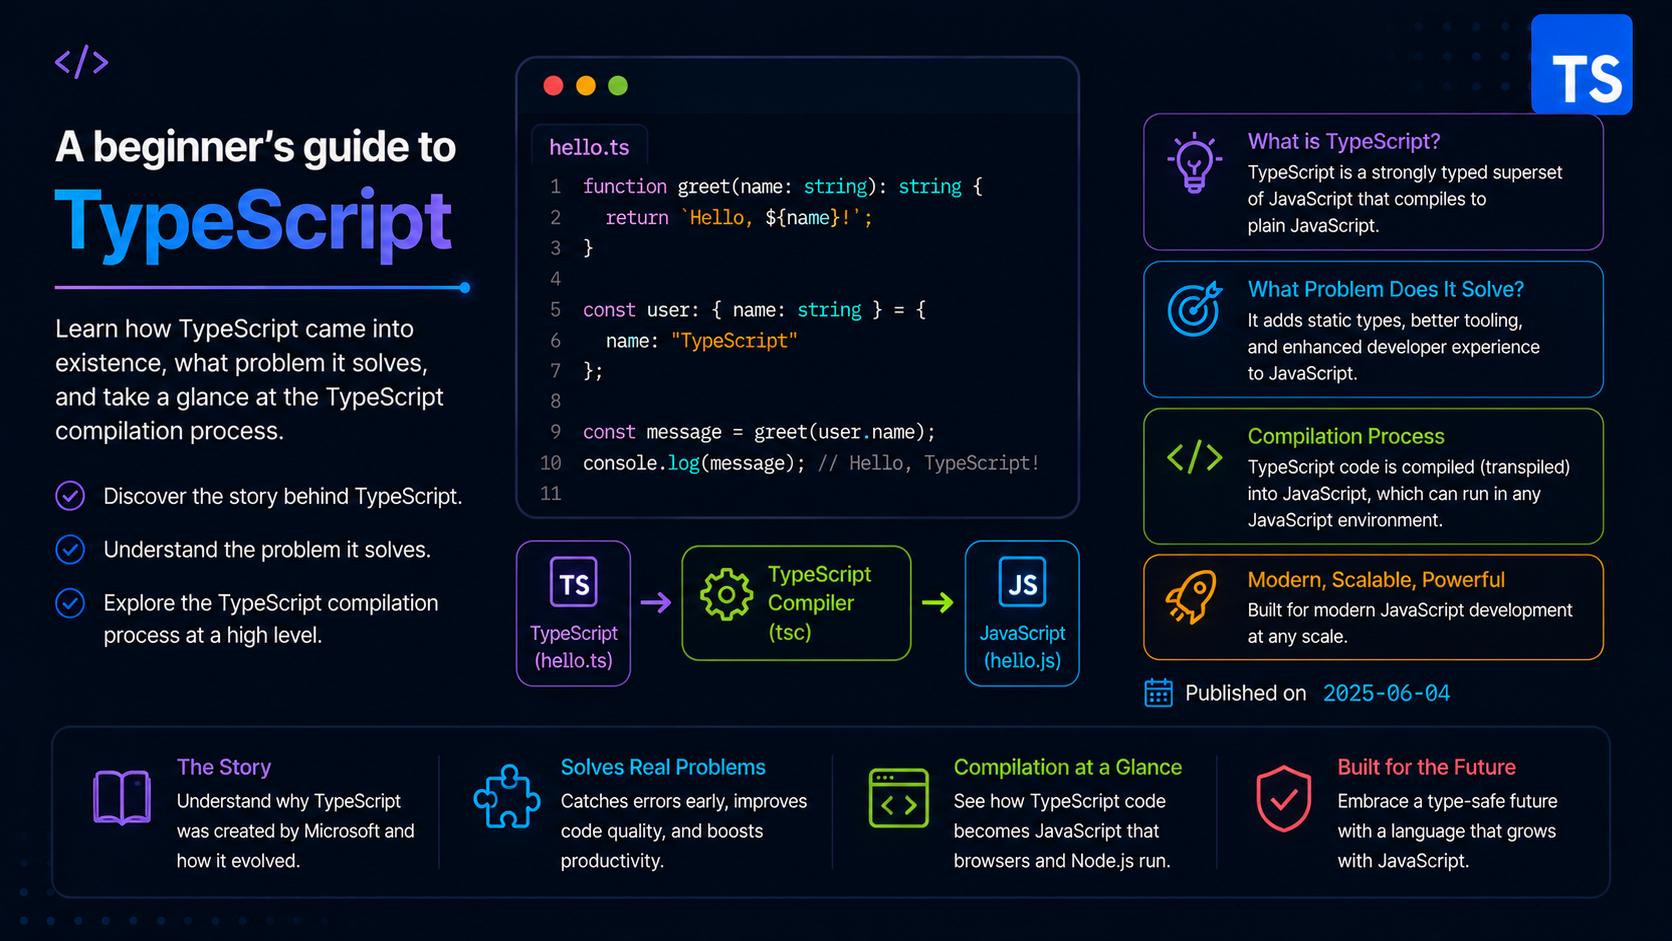
In the previous lesson, we looked at why TypeScript exists and how it solves some common JavaScript problems. Now let’s write a small TypeScript program, compile it to JavaScript, and run it with Node.
When you install TypeScript, you get the tsc command. This command invokes the TypeScript compiler, which reads .ts files and emits plain .js files.
The tsc command can receive source file paths and compiler options through command-line flags. We cover those flags in more detail in the Compiler Flags lesson.
We can also provide this information through a tsconfig.json file. When you run tsc without command-line arguments, TypeScript looks for tsconfig.json in the current directory. We discuss this file in the Compilation lesson.
When TypeScript processes source files, it checks type-related issues and emits JavaScript files. The output directory can be controlled through command-line flags or tsconfig.json. If we do not configure one, TypeScript writes output beside the source files.
The TypeScript compiler can emit JavaScript in two broad ways. The default mode is source-to-destination mapping, where each .ts file gets a matching .js file.
In this mode, the output file keeps the original filename and changes only the extension from .ts to .js. TypeScript also preserves the folder structure, so a/b/c.ts can become dist/a/b/c.js.
The second mode is bundling, where multiple source files are compiled into one .js file. This is useful when you want to ship a browser library as a single script, similar to how we can include one jQuery file even though the project itself has many source files.
These modes are controlled with command-line flags or tsconfig.json. In this lesson, we will keep things simple and use the default behavior.
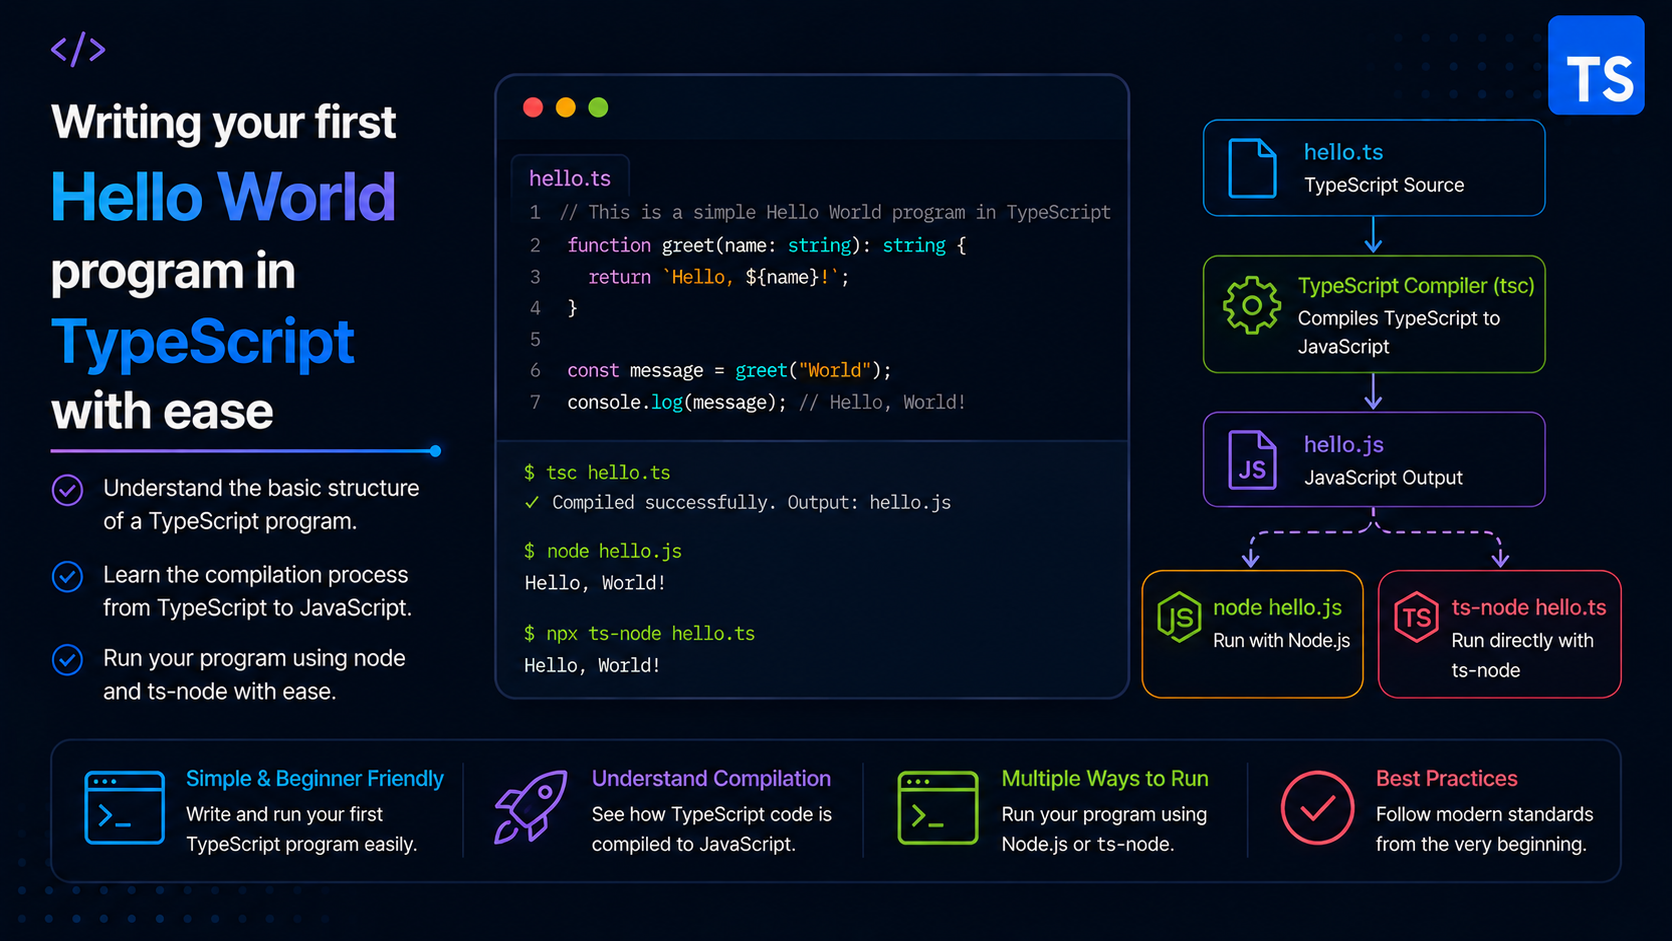
Hello World Program
A Hello World program prints Hello World! to the console. Since TypeScript is JavaScript with types, the first example looks exactly like JavaScript.
Let’s create a simple project with the directory name hello-world and place a hello.ts file inside it. The .ts extension will help us and the TypeScript compiler understand that it is a TypeScript file.
/hello-world
└── hello.ts
// hello.ts
console.log("Hello World!");The hello.ts program is plain JavaScript at the moment. To run it in a browser or Node.js, we first compile it to hello.js.
// hello.js
console.log("Hello World!");
$ tsc hello.ts
$ tree
.
├── hello.js
└── hello.ts
$ node hello.js
Hello World!The TypeScript compiler creates hello.js beside hello.ts. Now we can run the JavaScript file with Node.
Adding Type Support
Now let’s make the project slightly more realistic. We will split the code into modules and add type annotations.
/hello-world
└── src/
   ├── lib/
   |  └── utils.ts
   └── program.ts
In the modified project structure, the src directory contains all the source (.ts) files. The utils.ts contains a sayHello function that the program.ts imports and executes. These program files look like this.
// src/program.ts
import { sayHello } from "./lib/utils";

// declare `result` of type `number`
var result: number;

// save return value of `sayHello()` in `result`
result = sayHello("Ross");

// print result
console.log(result);
// src/lib/utils.ts
export function sayHello(user: string): string {
return `Hello, ${user}`;
}The :number part of the result declaration is a type annotation. A type annotation tells TypeScript what type a variable, function parameter, or return value should have.
The number type represents numeric values. We can also create custom types for objects, functions, and other complex values.
Once a value is annotated with a type, TypeScript expects it to keep that type. So result can only contain number values. That is exactly why this program fails to compile.
When we compile these files, we can pass both file paths or only program.ts, because program.ts imports utils.ts. Notice the mismatch: sayHello returns a string, but result expects a number.
💡 We will cover type annotations, basic types, abstract types, and imports in later lessons.
This type information will be used by program.ts and we can already see a problem here. The result variable assignment statement shows an error. If you hover on it, you will be able to see the problem. But let’s try to compile the program and see what TypeScript compiler says about it.
$ tsc src/program.ts src/lib/utils.ts
src/program.ts:7:1 - error TS2322: Type 'string' is not assignable to type 'number'.

7 result = sayHello("Ross");
  ~~~~~~

Found 1 error.
The error is fair. sayHello returns a string, but result is declared as a number. We should either change result to string or change sayHello to return a number. Here, string is the correct fix.
// src/program.ts
import { sayHello } from "./lib/utils";

// declare `result` of type `string`
var result: string;

// save return value of `sayHello()` in `result`
result = sayHello("Ross");

// print result
console.log(result);
// src/lib/utils.ts
export function sayHello(user: string): string {
return `Hello, ${user}`;
}$ tsc src/program.ts src/lib/utils.ts
$ tree -L 3
.
└── src
├── lib
│ ├── utils.js
│ └── utils.ts
├── program.js
└── program.tsNow if we compile the program, TypeScript won’t complain about anything and we also do not see any errors in the IDE. When the TypeScript compiler generated the compiler .js output files, it places them right beside the source files, since it likes to maintain the original file paths.
/hello-world
└── src/
   ├── lib/
   |  ├── utils.js
   |  └── utils.ts
   ├── program.js
   └── program.ts
Generally, we do not like to pollute our working directory. This is obviously bad and we need to fix it. What we can do is to provide an output directory where these files should be emitted. We can do that by invoking the tsc command with the --outDir command-line flag with the directory path.
$ tsc src/program.ts src/lib/utils.ts --outDir ./dist
$ tree -L 3
.
├── dist
│   ├── lib
│   │   └── utils.js
│   └── program.js
└── src
    ├── lib
    │   ├── utils.js
    │   └── utils.ts
    ├── program.js
    └── program.ts
Now the output files are placed inside dist directory but the TypeScript held on to the original file structure of the source file which is a good thing. Let’s see how compiled JavaScript looks like and what I said it’s a good thing.
// dist/program.js
"use strict";
exports.__esModule = true;
var utils_1 = require("./lib/utils");

// declare `result` of type `string`
var result;

// save return value of `sayHello()` in `result`
result = utils_1.sayHello("Ross");

// print result
console.log(result);
// dist/lib/utils.js
"use strict";
exports.__esModule = true;
exports.sayHello = void 0;
function sayHello(user) {
return "Hello, " + user;
}
exports.sayHello = sayHello;$ node dist/program.js
Hello, RossBy default, TypeScript converts ES6 import statement into CommonJS require() calls by default so that the output code can be run inside Node. This however doesn’t work inside a browser since the browser doesn’t support the CommonJS module system. But you can change it using --module flag.
You can also see that the TypeScript compiler performed some operations on the source code. It converted ES6 template string (inside sayHello function) into normal string concatenation using the + operator.
This process is called downleveling because the compiler transforms code from a newer JavaScript version to an older one. The default target is ES3, which does not support template strings. You can set --target ES6 or higher to avoid this specific transformation.
💡 You can learn more about these flags from the Compiler Flags lesson.
If we want to run this project using Node, we just need to invoke the node command and provide the dist/program.js file since it already imports the ./lib/utils.js file (relative to itself) using the require() call. Now you can see why keeping the original file structure in the output was a good thing. Had the output file structure different, Node would not have been able to find the ./lib/utils.js file relative to the program.js file.
Using tsconfig.json configuration file
So far we talked about --target and --module command-line flags and used the --outDir flag to change the output directory. These flags configure the compilation settings of the TypeScript compiler.
Similarly, we provided the source files to the TypeScript command from the tsc command itself. When the compiler-options get larger, so does the tsc command and it could be overwhelming to handle such a big command.
To solve this issue, TypeScript provides specifying these options through a JSON configuration file mainly named tsconfig.json. This file should be placed in the root directory of the project. When we invoke the tsc command from this root directory, the TypeScript compiler uses this file to extract the compilation settings just like values from the command-line options/flags.
So let’s create the tsconfig.json in the hello-world project directory.
// tsconfig.json
{
"files": ["./src/program.ts", "./src/lib/utils.ts"],
"compilerOptions": {
"outDir": "./dist"
}
}$ tsc
$ tree -L 3
.
├── dist
│ ├── lib
│ │ └── utils.js
│ └── program.js
├── src
│ ├── lib
│ │ └── utils.ts
│ └── program.ts
└── tsconfig.json
$ node dist/program.js
Hello, RossIn this tsconfig.json, we specify the source files to include in the compilation using the files field. The utils.ts file is redundant since it is already imported inside program.ts. The compilerOptions field contains the actual compilation settings.
You can provide a custom file path of this configuration file using the tsconfig.json using the --project or -p flag such as tsc --project tsconfig.prod.json. You can also override compilerOptions of the imported tsconfig.json file by using the command-line flags.
$ tsc --outDir ./build
$ tree -L 3 --ignore="dist"
.
├── build
│   ├── lib
│   │   └── utils.js
│   └── program.js
├── src
│   ├── lib
│   │   └── utils.ts
│   └── program.ts
└── tsconfig.json

$ node build/program.js
Hello, Ross
In this example, even though the tsconfig.json says the output directory is dist but we have overridden it using the --outDir flag. This could be useful while performing automated tasks.
Working with ts-node
So far, we have compiled TypeScript first and then run the output JavaScript files. Sometimes you do not care about the generated .js files and only want to run the program with Node. In that case, the extra manual compilation step feels unnecessary.
To solve this issue, some brilliant people came together and made ts-node. It is an open-source command-line utility to run .ts directly on Node without having to manually compile these source files to .js file since ts-node does that internally with added optimizations. You can just run ts-node program.ts command and the process we went through manually in this example is taken care of by the ts-node under the hood.
To install this tool, follow this official documentation on the GitHub. I would recommend you to install this tool globally so that you can access it using the command ts-node from anywhere on your system. Once the installation is done, let’s move to our project and execute the ts-node command.
$ ts-node src/program.ts
Hello, Ross
As you can see from this example, we just executed the ts-node command and provided the src/program.ts file. The ts-node tool uses the TypeScript compiler to first compile the program and then run the output .js file using the node command. So in a nutshell ts-node is just a combination of tsc and node command but with added improvements.
If you want to provide custom compiler-options to ts-node, then you should put the tsconfig.json file in the directory where the ts-node command is being invoked, perhaps in the root directory of the project.
Just like the tsc command, the ts-node command looks for the tsconfig.json file but only to extract compilerOptions. The files field is ignored (also the include and exclude fields) so that we can provide the executable source file path from the command-line itself.
💡 You can override this behavior by providing the
--fileflags with thets-nodecommand if some extra files are needed to be added in the compilation. If you do not wantts-nodeto use thetsconfig.jsonfile, the--skip-projectflag. You can provide thecompilerOptionsobject directly from the command-line using the--compiler-optionsflag. Use this documentation for more info.